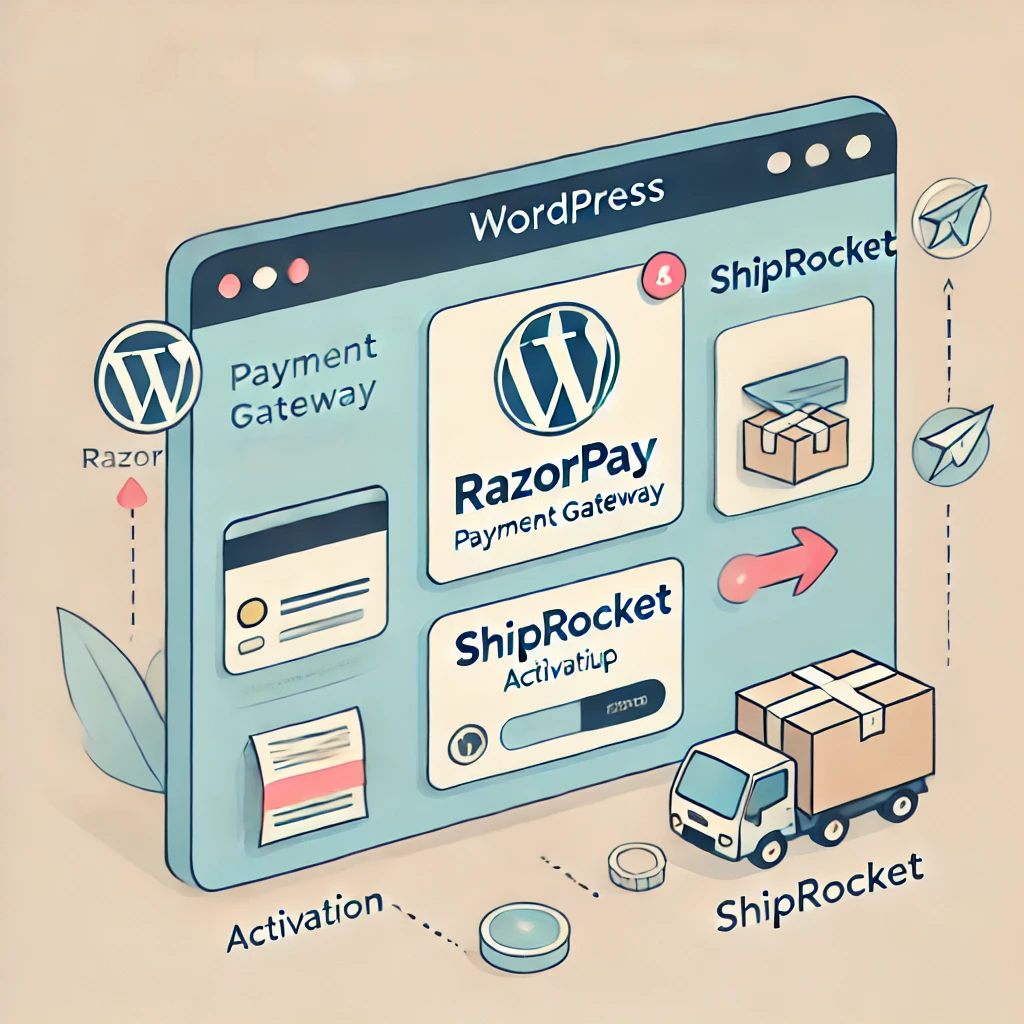
Integrating efficient payment and logistics solutions is essential for any e-commerce business to thrive. A well-set-up WooCommerce website ensures smooth transactions and timely deliveries, offering a seamless experience for your customers. In this blog, we will guide you on connecting payment and logistics services to your WooCommerce store using Razorpay for payments and Shiprocket for logistics.

Why Payment and Logistics Integration is Important
- Convenience for Customers: Providing multiple payment options and reliable shipping services increases customer satisfaction.
- Automated Operations: Integrating these systems streamlines your order fulfillment and payment processing.
- Scalability: These integrations allow your business to handle growing volumes effortlessly.
Steps to Integrate Payment Gateway with WooCommerce
Razorpay as an Example:
Razorpay is one of the most popular payment gateways in India, supporting multiple payment methods like credit/debit cards, UPI, wallets, and net banking. For every order placed, Razor pay charges 2% from your transaction amount as of now. Here’s how to integrate it with WooCommerce:

Steps to integrate Razorpay:
- Install and Activate the Razorpay Plugin by following the below steps
- Log in to your WordPress dashboard.
- Navigate to Plugins > Add New.
- Search for Razorpay for WooCommerce.
- Install and activate the plugin.
- Get Razorpay API Keys:
- Log in to your Razorpay account.
- Go to Settings > API Keys and generate keys.
- Copy the Key ID and Key Secret.
- Configure Razorpay in WooCommerce:
- In your WordPress dashboard, go to WooCommerce > Settings > Payments.
- Enable Razorpay and click on Manage.
- Paste the Key ID and Key Secret.
- Save the changes.
- Test the Integration:
- Enable the Test Mode in Razorpay settings.
- Perform a test transaction to ensure everything works correctly.
Steps to Integrate Logistics Services with WooCommerce
Ship rocket as an Example

Ship rocket simplifies shipping by connecting your store to multiple courier partners, automating order processing, and providing real-time tracking.
They provide multiple courier partners at different rates to choose. And one can track the shipment using the URL available in their website. The URL can be customized with our website name on it.
Integrate Shiprocket with WordPress
- Sign Up for a Shiprocket Account:
- Visit the Shiprocket website and create an account.
- Complete the KYC process to activate your account.
- Install and Activate the Shiprocket Plugin:
- In your WordPress dashboard, go to Plugins > Add New.
- Search for Shiprocket.
- Install and activate the plugin.
- Connect WooCommerce with Shiprocket:
- Log in to your Shiprocket account.
- Navigate to Settings > Channels and add WooCommerce.
- Generate API credentials in your Shiprocket account.
- Use these credentials to connect your WooCommerce store.
- Configure Shipping Settings:
- In the Shiprocket dashboard, set up shipping zones, courier preferences, and pricing rules.
- Enable automatic order syncing to fetch orders directly from your WooCommerce store.
- Test the Integration:
- Place a dummy order to check if it’s correctly synced with Shiprocket.
- Verify if the shipping label generation and tracking are working as expected.
Tips:
You can have a custom URL from shiprocket for tracking link. This can be used in your website for the customers to track their orders.
India post can be linked to your shiprocket account as your delivery partner. It is the cheapest and reliable option available as of now in India. Other courier partners are faster but bit costlier

Benefits of Using Razorpay and Shiprocket
Razorpay:
- Supports multiple payment methods.
- Provides advanced fraud detection for secure transactions.
- Offers seamless refund and settlement processes.
- There is no upfront cost for this plugin
Shiprocket:
- Reduces shipping costs with multiple courier partners.
- Offers automated order processing and real-time tracking.
- Provides tools for Return Merchandise Authorization (RMA) management.
Additional Tips for WooCommerce Integration
- Keep Plugins Updated: Regularly update your Razorpay and Shiprocket plugins to ensure compatibility with the latest WooCommerce version.
- Monitor Performance: Use analytics tools to track payment success rates and delivery timelines.
- Optimize Customer Experience: Display estimated delivery dates and provide multiple payment options for enhanced customer satisfaction.
- Razorpay and Shiprocket are excellent tools for managing payments and logistics on WordPress. However, alternatives like PayU, Instamojo, Stripe for payment and Delhivery, Pickrr, and Blue Dart for shipping provides flexibility and options that can be tailored to your business. Evaluate your specific requirements and choose the combination that best suits your e-commerce needs.
Conclusion
Integrating Razorpay and Shiprocket with your WooCommerce store is straightforward and provides an excellent foundation for a smooth e-commerce experience. These tools streamline payments and logistics, enabling you to focus on growing your business. By following the steps outlined above, you can ensure that your customers enjoy a hassle-free shopping experience on your website.
Need help with the integration? Drop your questions in the comments section, and we’ll be happy to assist!
